
When developing mobile apps using a Xamarin project within Visual Studio, there is a choice of three platforms; Android, Apple iOS and Windows Mobile. However, as any developer will soon realise, whilst it is possible to build a cross platform application, it is not possible to work on all three platforms without the correct hardware. In order to emulate, test and deploy on iOS you will need access to an Apple computer. There is currently no escaping that fact.
The good news is that does not necessarily mean you need to swap out all of your computer equipment to MacBooks, iMacs or iMac Minis. It is possible to connect Visual Studio within Windows to a Mac to do any emulation and building of an iOS app. And the really good news is that multiple PCs can connect to a single Apple Mac.
This leaves a few options open to any development team or hobbyist, such as:
- Buy a single Apple computer for iOS development
- Use Apple devices in the cloud. Such as MacInCloud.com. However, connecting to a physical device becomes tricky (but not impossible).
- Find a friend with a Mac that you can borrow from time-to-time 🙂
Anyway, I digressed. In order to connect Visual Studio on a PC to an Apple Mac there is some preparation to do on both machines.
PC Preparation
On the PC, ensure that the following is installed:
- Visual Studio 2019 or later. Make sure that any updates have been installed, as there were a few known connectivity issues in 2020.
- Ensure that Mobile development with .NET is checked/installed. This can be accessed by opening start menu and typing ‘Visual Studio Installer’ and then clicking the ‘Available’ tab.
Mac Preparation
On the Mac, ensure that the following is installed and configured:
- Install XCode – This can be downloaded from the App Store
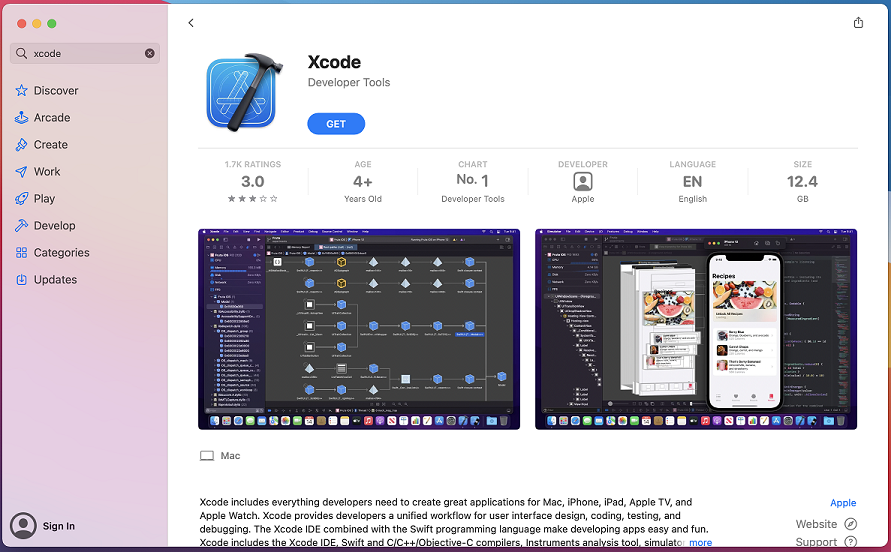
- Open XCode and agree to Terms & Conditions (if you agree to them of course!)
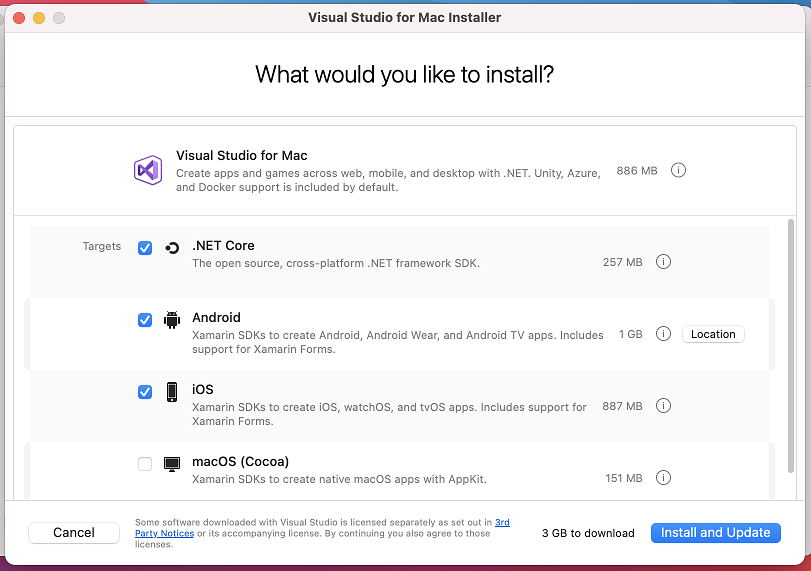
- Install Visual Studio for Mac – Link here
- Make sure Xamarin SDKs are installed for iOS within the Visual Studio for Mac Installer
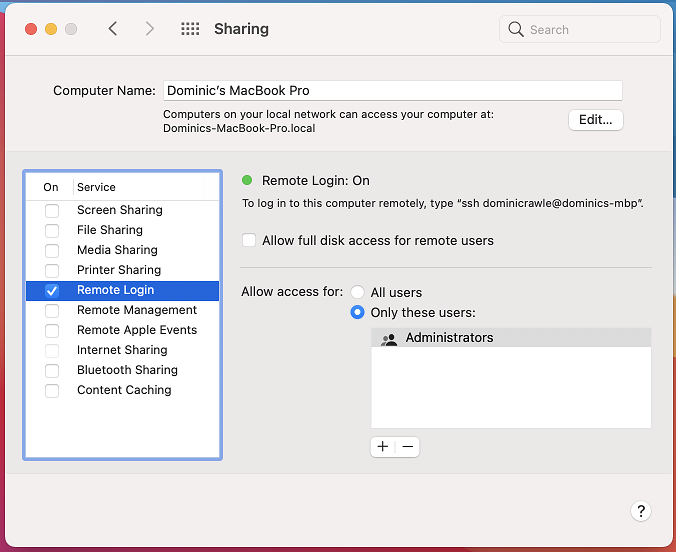
- Open System Preferences

- Click on Sharing
- Within Sharing; enable Remote Login
Pairing with a Mac from a PC
Hopefully the preparation part went fairly smoothly as this can be the most temperamental part.
- The first step is hopefully obvious enough, but you need to switch on the Mac and ensure that it has sufficient network access. Preferably on the same local network (LAN or via VPN).
- Once the Mac has been booted into the desktop, open Visual Studio on your Windows PC.
- At this point you can open an existing Xamarin project which has an iOS project in it or create a new mobile app and select iOS as one of the platforms.
- On the menu toolbar of Visual Studio (PC), click ‘Tools’, then ‘iOS’ and then click on ‘Pair to Mac’. A popup dialog will then appear.
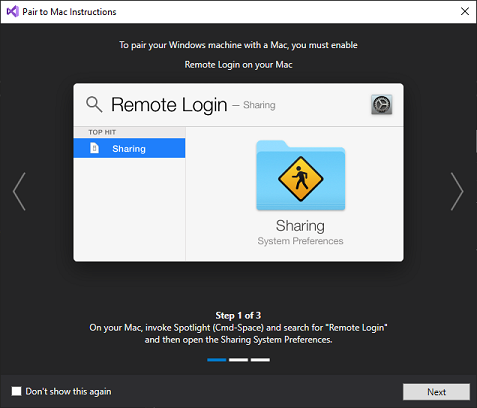
- Click ‘Next’
- Hopefully, you will see the name of your Mac in the Pairing list automatically. But if not, you will need to add this manually by clicking ‘Add New’ and typing in the machine name or IP Address. I found sometimes it takes a minute or so for the Mac to appear in the list. It may even appear as _SSH followed by an IP address initially, as Visual Studio retrieves more information.
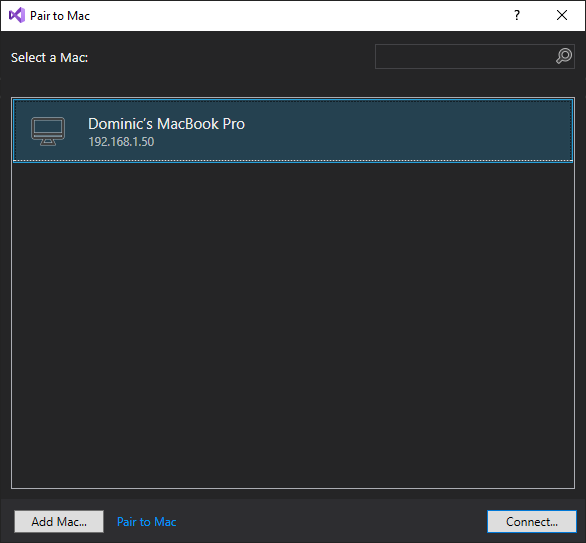
- Select the Mac and click Connect…
- At this point, Visual Studio on the PC will attempt to connect to the Mac, and its here that most of the problems occur.
Common Issues- Missing Mono Installation – This is likely an issue to do with the Visual Studio installation on the Mac. i.e. not installed or not installed properly.
- An error occurred while generating the SSH Keys – Check that you are running the most up-to-date version of Visual Studio. There were a few known issues back in May 2020 and has since been fixed.
- Once it has successfully connected, close the Pair to Mac window.
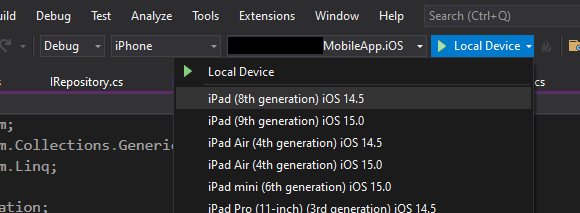
- Just below the Visual Studio menu bar is the project’s build options. Most likely the selected device will be Local. Change this to your desired device for emulation.
- Click the green Run/Build icon (to the left of the device name) and hopefully Visual Studio will start building the project and open an emulator window.
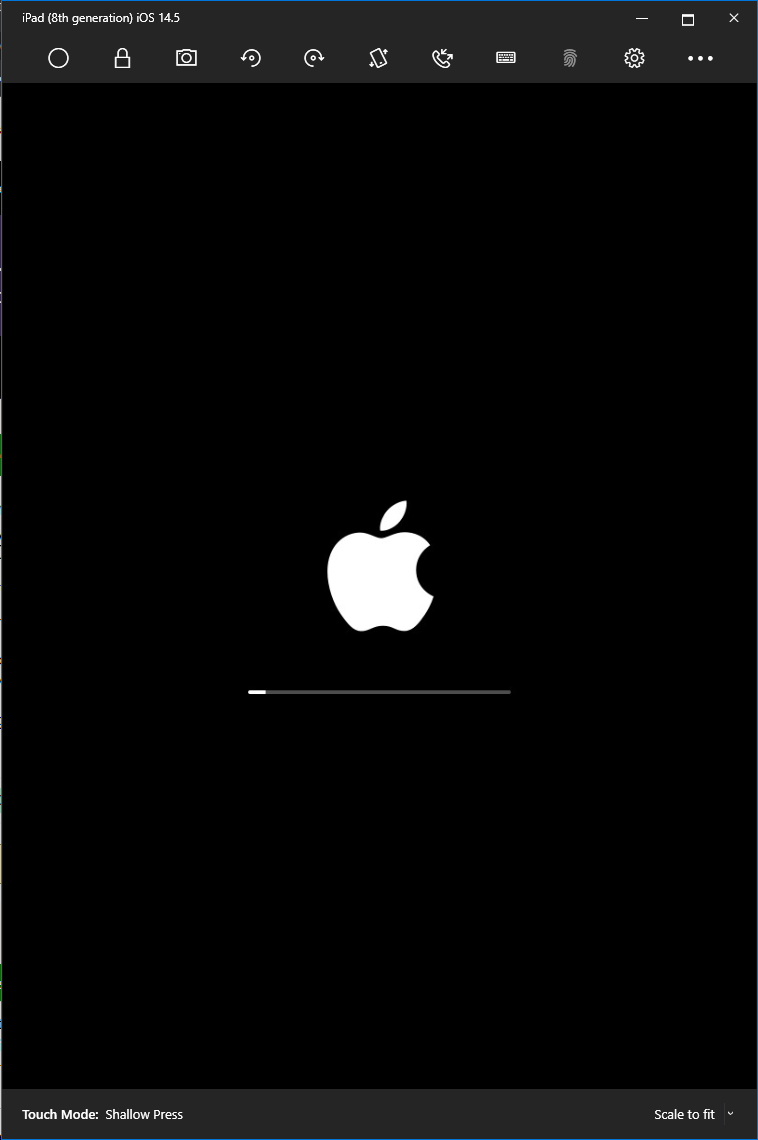
- That’s it! You should now have an Apple iOS emulator running on your Windows PC!
If you need to test on a physical device, you will need to connect the device to your Windows machine. You can then select ‘Local’ (step 10) and then click Run/Build.
Post Categories